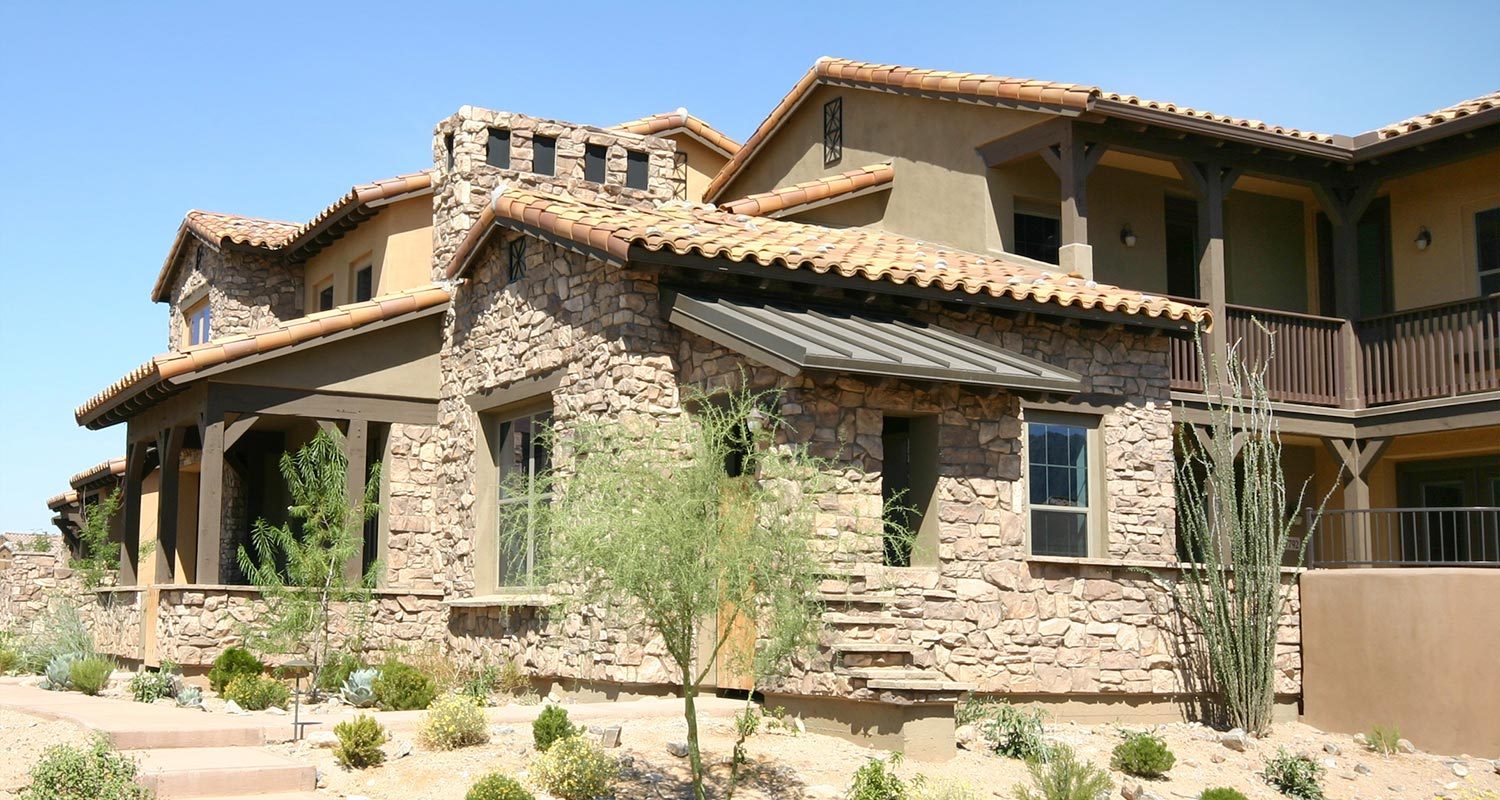
If you are searching for “how to install stone veneer“, this article will serve as your five-step DIY guide!
Five Steps Of Stone Veneer Installation
Here are five simple steps to taking when preparing to install stone veneer:
- Prepare The Surface
- Scratch Coat
- Prepare The Stone
- Install Stone Veneer
- Fill Gaps With Grout
Before installation, keep these few tips in mind. First, make sure your stone veneer and your hands remain clean during the whole process. Do not allow any mortar to dry on the stone. Protect the ground with some sort of material, preventing any water or mud from getting on the stone. Make sure you are abiding by any and all local or building codes before jumping into this project.
Calculate the proper amount of materials you’ll need for installation. Figure out the amount of square footage you plan to cover with stone veneer, then purchase materials accordingly.
Prepare The Surface
This step is taken to prevent any water damage from threatening the foundation of the stone veneer. Cover the exterior wall, including paneling and/or metal siding, with material like tar paper. Be sure to wrap all corners of the walls for maximum water resistance. Keep all surfaces clean and clear of any debris. Any surfaces that have been painted need to be sand blasted or stripped before installing stone veneer on the surface.
Scratch Coat
Whenever metal lath is used, a scratch coat is needed. This step will not apply when installing stone veneer on concrete, stucco or masonry surfaces. The scratch coat should consist of one part Type S Masonry Cement and 2.5 parts sand. To avoid any clumps, dry mix the cement and sand together. Add water slowly from time to time. Constantly mix the water in like whipping potatoes. Total time of the mixing should last about five minutes.
Cover the full area of the lath. Smear the cement into any holes and scrape off excess cement, if necessary. Allow the surface up to 24 hours to fully dry.
Prepare The Stone
Start by laying out the stones flat to determine sizes and colors. Use this visual to figure out just how you’d like to organize the stones for installation. Try to keep a consistent height and width between all pieces. Use a skill saw if you wish to cut any of these stones. A masonry hammer could also work to give the stone a more natural appearance. Again, make sure the stones are free of any dust or debris.
Install Stone Veneer
Use a pre-blended stone veneer mortar for the installation. Install all corner stones first before filling in the missing gaps. It is also recommended to work your way up instead of downward. A masonry brush can be used to dampen the back of the stone prior to placing it on a surface. This will give the stone and surface a stronger bond. Lay the stone against the surface while rotating slightly. This will force some of the mortar to squeeze out on the sides.
Fill Gaps With Grout
Regardless of how good the fit is, there will be some notable gaps between stones. Fill these gaps with a grout mixture. If the grout smears or falls off in big chunks, it is too wet for any final brushing.
Tools Needed For Installation
Here a few tools that will come in handy for this project:
- Metal lathe
- Hammer
- Nails
- Mortar sand
- Masonry towel
- scratch comb
- Bucket
- Vinegar
- Aviation shears
- Wire brush
What Are The Advantages Of Stone Veneer?
Here are some of the advantages of installing stone veneer:
- Stone veneer can be installed virtually onto any surface such as brick, wood, metal, cement, and even sheetrock. The flexibility for installation of stone veneer makes it a favorite for both homeowners and builders alike. This building product can be installed easily without having compatibility issues with substrates.
- Stone veneer is not as heavy as other building materials. This makes it possible to install them without adding too much weight to the home or business they are being installed on. It also means it takes less effort to get them to the job site.
- Stone veneer weighs less and also costs less because it is easier to transport to distributors and to job sites. Natural stone is much heavier and requires additional shipping costs. Veneer is also less costly than natural stone, so it is a great option when keeping construction costs down is important.
- Veneer is flexible and easy to install around rounded or curved areas. Natural stone is not flexible and veneer makes it easier to complete the installation around tricky areas.
- Stone veneer is easier to cut to fit into the areas you need it. Getting the needed size and shape is easier with stone veneer.
STONE VENEER INSTALLATION PHOENIX & CHANDLER, ARIZONA
If you live in Chandler, or surrounding cities in the Phoenix, Arizona area and want a gas or stone veneer fireplace installed; Diversified Builder, Inc. can help! We offer indoor and outdoor fireplace installation in Phoenix & Chandler, Arizona. We also install commercial and residential brick veneers. Contact us Today!


